

How to use Packer to create Linux virtual machine images in Azure


Introduction
Packer helps with the automation of the process of building customized VM images, thereby saving time, reducing errors and ensuring consistency across infrastructure. This guide will provide the step-by-step process of using Packer to create a Linux VM image in Azure.
Create an Azure Resource Group
Before you start using Packer, you need a dedicated environment in which to work. Azure Resource Groups serve as containers for Azure resources that share a common lifecycle. This can be done using the Azure CLI or on the Azure portal.
Using the Azure CLI to create a new resource group:
az group create -n MyPackerRG -l westus
Using the Azure portal to create a new resource group:
Log in to your Azure portal.
Click on "Create a resource" and search for "Resource group".
Provide a unique name and select the desired region.
Click "Review + Create" and then "Create" to finalize the group creation.
Create Azure Credentials
Packer needs appropriate credentials to interact with your Azure account and resources. You'll need a Service Principal, which is an identity that Packer will use to authenticate. Here's how to set it up on the Azure portal:
In the Azure portal, navigate to your resource group.
Go to "Access control (IAM)" and click on "Add a role assignment."
Select the role (typically "Contributor") and search for your Packer resource group.
Choose a user, group, or application as the assignee, and click "Save."
Make note of the following credentials: subscription_id, client_id (Application ID), client_secret, and tenant_id.
To do this using the Azure CLI:
az ad sp create-for-rbac --role Contributor --scopes /subscriptions/<subscription_id> --query "{ client_id: appId, client_secret: password, tenant_id: tenant }"
Save the app ID, password, and tenant ID from the CLI output.
Define a Packer Template
Next, we need to create a Packer template configuration file. This is a JSON file that defines how the image is built. This is also where we define the Azure builder, VM specifications, and provisioning steps. Here's a basic example:
{
  "builders": [{
    "type": "azure-arm",

    "client_id": "appId",
    "client_secret": "password",
    "tenant_id": "tenant",

    "managed_image_resource_group_name": "MyPackerRG",
    "managed_image_name": "MyPackerImage",

    "os_type": "Linux",
    "image_publisher": "Canonical",
    "image_offer": "UbuntuServer",
    "image_sku": "18.04-LTS"
  }],

  "provisioners": [{
    "type": "shell",
    "inline": [
      "sudo apt-get update",
      "sudo apt-get install -y nginx"
    ]
  }]
}
Build the Packer Image
With the template defined, we can now use the packer build command to start the image build process:
packer build demo.json
Packer will now launch an Azure VM, install Nginx on it with the shell script, and then snapshot that VM as a reusable image.
Another way to build the template is by uploading the template JSON file to the Azure portal cloud shell:
Click on the
cloud shellicon on the portal.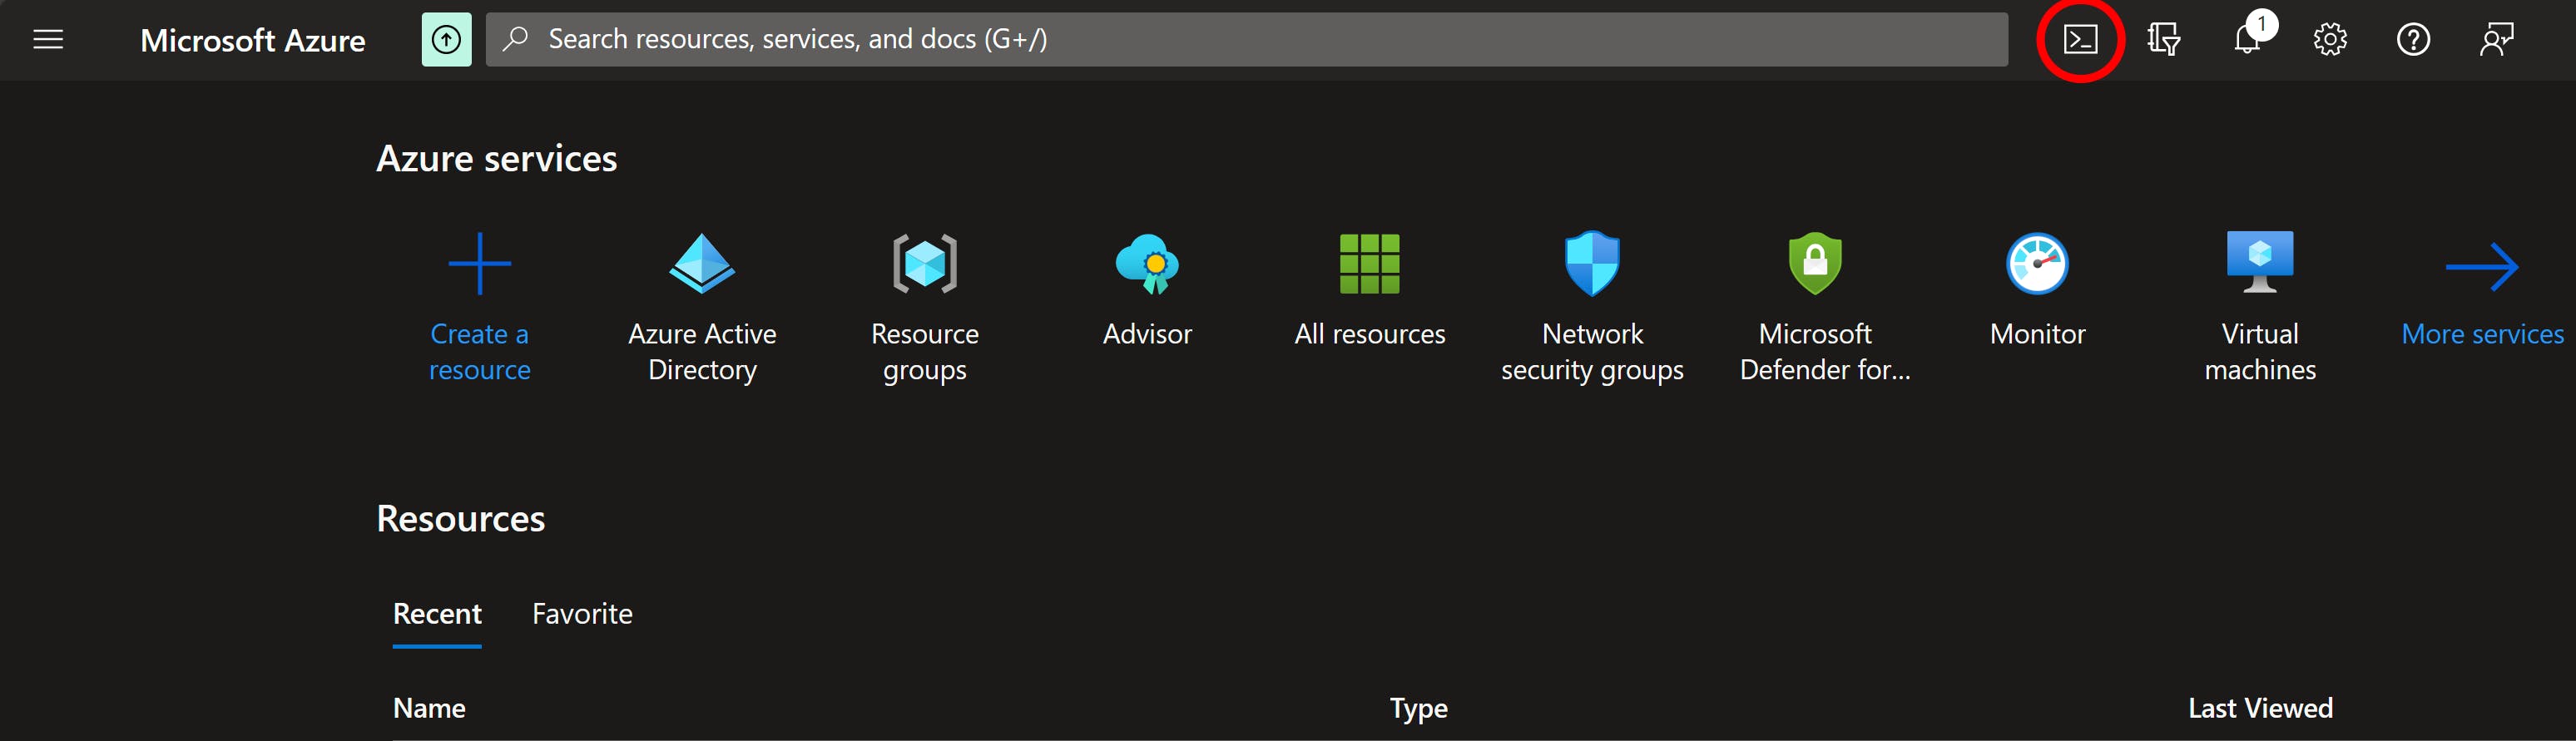
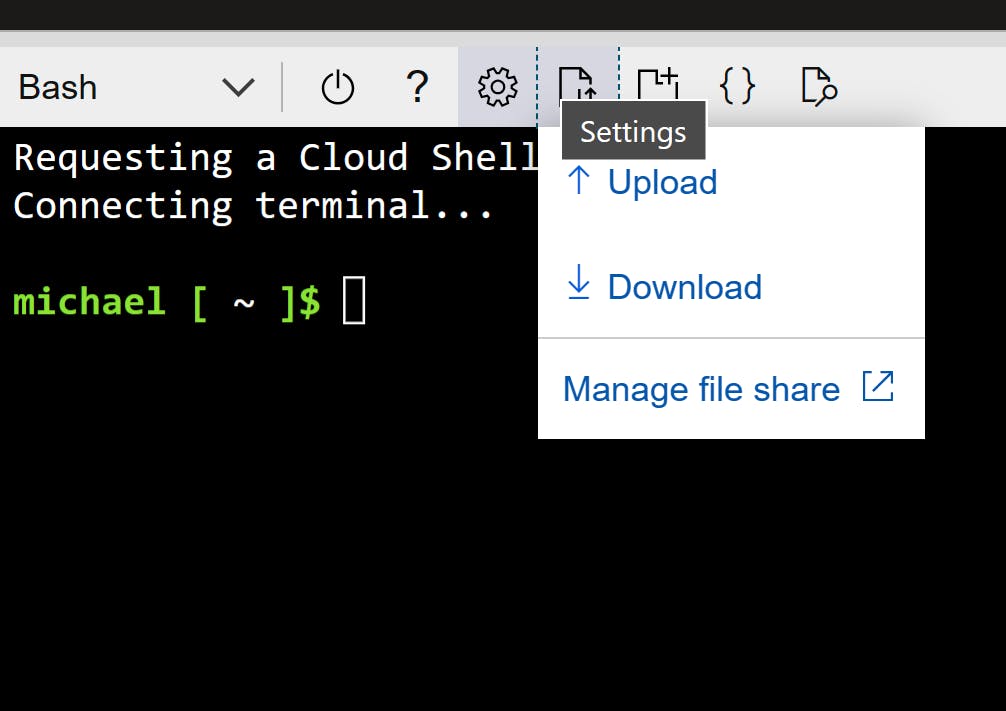
In the shell that opens up, click on the "Upload/Download files" icon.

Upload the template JSON file
Optionally, you can verify the template JSON is uploaded by listing the files present using
ls.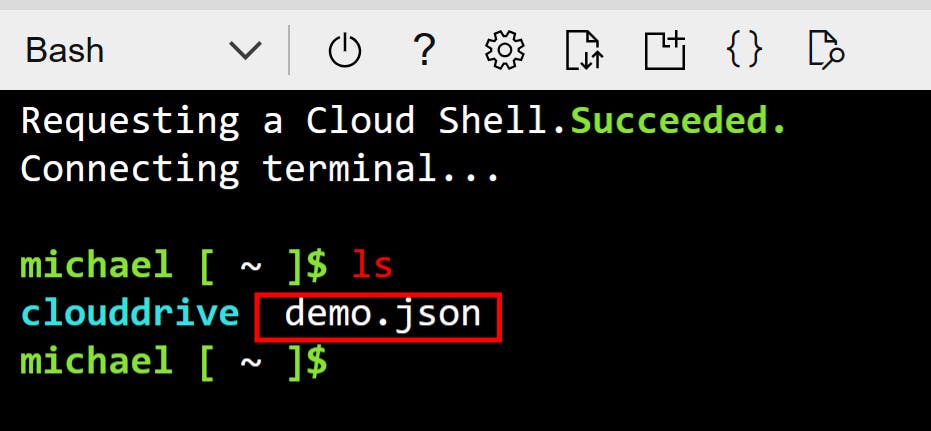
Now we can build the image using the
packer build demo.jsoncommand.

Packer will carry out the specified steps, such as running provisioning scripts, to create a new VM instance, install the required software, and configure settings. After the process is finished, Packer will capture the VM as a managed image in Azure.
Create VM from Azure image
Upon completion of Packer's process, we can initiate a new VM using the created image by establishing a new VM in the Azure Portal and selecting the available Packer image resource. This automates the installation and configuration, enabling the VM to boot up swiftly.
Conclusion
Packer streamlines the process of building and deploying VM images in Azure, providing automation and consistency for your infrastructure. By following the steps outlined in this guide, you can harness the power of Packer to create customized virtual machine images that align with your development and deployment requirements.